
Koozies are one of the most popular wedding favors, and for good reason. They are useful, guests actually take them home, and they are easy to personalize. Making your own with a Cricut is also one of the simplest DIY wedding projects, since each one is just a short design pressed onto a blank koozie.
This guide walks through everything you need, from choosing a Cricut and the right iron-on vinyl to the tools that make pressing easier, and then the step by step process for making a whole batch. You can finish most of the project in an afternoon once your supplies arrive.
A Cricut is the cutting machine that turns your design into the vinyl lettering that goes on each koozie. Any of the three below will do the job, since wedding koozie designs are small, usually a couple of names, a date, or a short phrase. The right pick comes down to your budget and whether you plan to use it for more than the wedding.
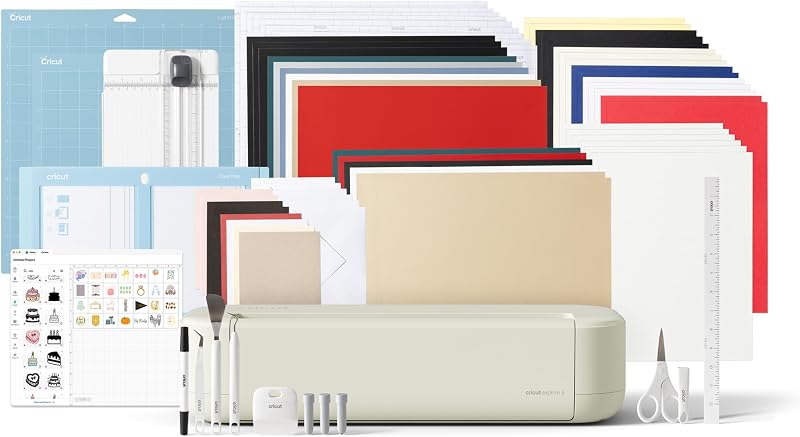
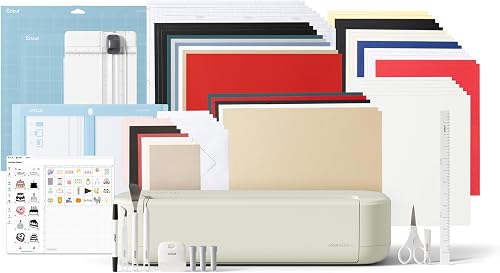
The all-around pick for most DIY brides. It cuts vinyl, iron-on, cardstock, and more, so it is handy for the rest of your wedding projects too, like place cards, signs, and labels. It connects to the free Design Space app on your phone or computer, and you do not need any design experience to use it.

The step up if you want the most flexible machine. It works with a much wider range of materials than the Explore, including leather and wood, which makes it a great fit if you plan to keep crafting after the wedding. It also pairs best with Smart Iron-On, which we cover in the next step.
The small, budget friendly option. It is compact and light, so it is easy to store, and it handles small designs like koozie lettering well. If your only plan is simple favors and a few cards, this is the most affordable way to get started.
Iron-on vinyl, also called heat transfer vinyl, is the material that sticks to the koozie when heat is applied. You will cut your design out of it, peel away the extra, and press the rest onto the koozie. There are three easy options, and which one is best depends on how many colors you want and which machine you chose.

The cheapest way to get started. It cuts well and comes in plenty of colors, but it needs a sticky cutting mat to hold it in place in the machine, so it takes a little more setup than the smart option. A good choice if you want one simple color on every koozie.

The pick if you want more than one color. This sampler pack has ten colors, so you can do names in one color and the date in another, or mix colors across different koozies to match your wedding palette.

The easiest to use if you have a Cricut Maker. It cuts without a mat, so it is faster to load, which adds up if you are making dozens of favors. It costs a little more per roll than the value option, but the time you save on a big batch is worth it for most people.
Plan on one koozie per guest, plus a few extras for mistakes and last minute plus ones. Order a couple of weeks before the wedding so you have time to practice on a spare and press them all without rushing.
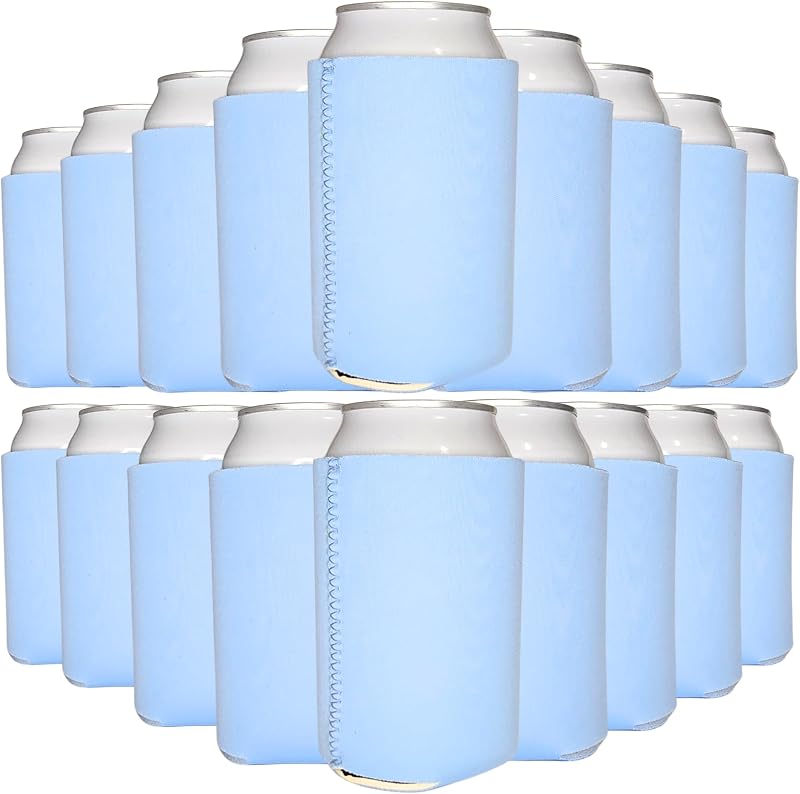
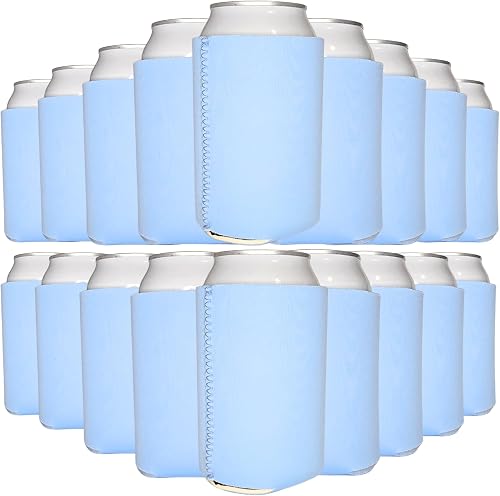
The blank koozies to decorate. Pick the color that suits your wedding, since the iron-on vinyl goes on top of it. White or light colors show darker lettering well, and dark koozies look great with white or gold.
You can press iron-on with a regular household iron, but a few extra tools make the results cleaner and more consistent, which matters when you are making a big batch.

A heat press made for crafting. It gives even heat across the whole design, which helps the vinyl stick properly and last through washes and use. It is the biggest upgrade on this list if you are making a lot of koozies.

A protective pad that goes under the koozie while you press. It keeps heat even and protects your work surface, and it makes pressing small and curved items easier.

The small tools you will use on every project, including the weeding tool that pulls away the extra vinyl from your design. It is inexpensive and one of the most used items in any Cricut setup.
Once everything arrives, the process is the same for every koozie. Here is how it works from start to finish.
Open the free Cricut Design Space app and add your text or a design. Keep it simple, a couple of names and a date are plenty for a koozie. Resize the design to fit the printable area of your koozie, and check the size against a real koozie before you cut.
Iron-on vinyl is cut face down, so the design has to be flipped. In Design Space, turn on the mirror option for your cut. If you skip this step, any text will come out backwards.
Load the iron-on vinyl with the shiny, clear carrier side down, choose the matching material setting in Design Space, and cut. If you are using the value iron-on, stick it to a cutting mat first.
Use the weeding tool to peel away the extra vinyl, leaving only your design on the clear carrier sheet. Take your time with small letters and the centers of letters like A, O, and R.
Heat your EasyPress or iron, then place the design on the koozie with the clear carrier sheet facing up. Press, let it cool as directed, and peel the carrier sheet away. Check the Cricut heat guide for your exact iron-on and koozie material, and test on a spare koozie first, since foam koozies are sensitive to heat.
Cut and weed several designs at once, then press them one after another. Doing each step in batches is much faster than finishing one koozie at a time.
Not sure what to put on them? These simple ideas work well and are easy to cut.
Yes. Cut your design from iron-on vinyl, weed away the extra, and press it onto a blank koozie with a heat press or iron. It is one of the easiest wedding favors to make yourself.
Any Cricut will work, since koozie designs are small. The Cricut Explore 5 is a great all-around pick, the Maker 5 is best if you want the most materials and the easiest Smart Iron-On workflow, and the Joy 2 is the most budget friendly option.
Iron-on vinyl, also called heat transfer vinyl. Cricut Smart Iron-On is the easiest with a Maker, Value Iron-On is the cheapest, and the rainbow sampler is great if you want multiple colors.
No, but it helps. A household iron can work for a few koozies, but a Cricut EasyPress gives more even heat, which makes results more consistent across a large batch.
Plan one per guest, then add a few extras for mistakes and last minute guests. Practice on a spare before you press the full batch.
Everything from this guide in one place. Tap any item to see it on Amazon.


